What is steam bending?
Wood is mainly cellulose and lignin. Lignin is thermo-plastic. If you heat it up, it gets squishy, letting you change its shape. If you hold it in that shape while it cools, it’ll stay that way. Exposing wood to steam and clamping it to a form allows you to add curves to wood by reshaping the fibers instead of cutting through them.
Why use steam bending?
If you hunt around long enough, you can probably find a bit of a tree that’s grown in the shape you want to make. For example, where limbs grow out of a larger branch the fibers will have grown in a crooked shape, which can be the perfect curve for wooden utensils like spoons and spatulas. It feels great to work with the natural growth of a tree to create something that’s a collaboration between you and nature. Unfortunately, even large trees might only have a few suitable bent branches in them. If you’re live in a city like I do, tree crowns, with all the interesting bendy bits, tend to get chipped. So you don’t even get a chance to hunt for them. Steam bending lets us use the much more plentiful and easy to acquired straight wood to create our own crooks, with the exact kind of bend we want. And we’re being more efficient the materials.
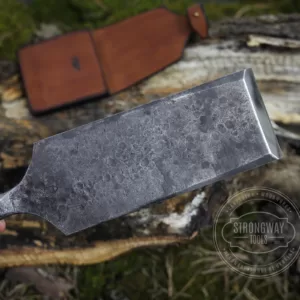
You can carve a bend into a straight piece of wood, but you’ll be cutting through wood fibers, making their connections to each other shorter and therefore weaker. To compensate you need to leave more material on the finished item. In a steam bent piece of wood, the crank, the angle the handle is offset to the action end of the utensil, has fibers that run from end to end. You can carve these items thinner and they’ll be just as strong, if not stronger, than items with the crank carved into them.
What equipment do I need?
Steam bending does require some extra kit and a little patience.
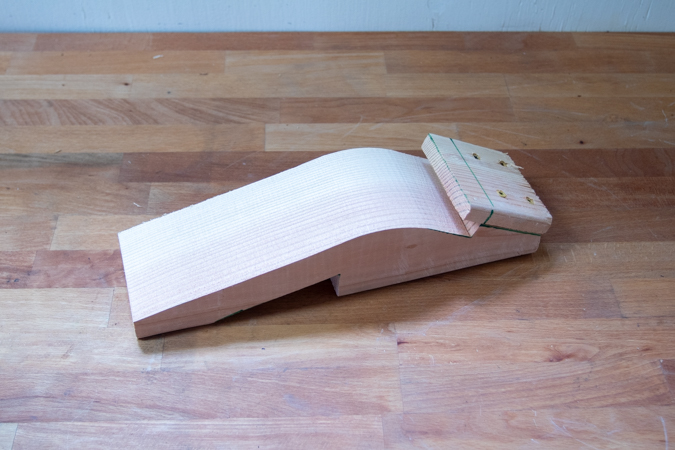
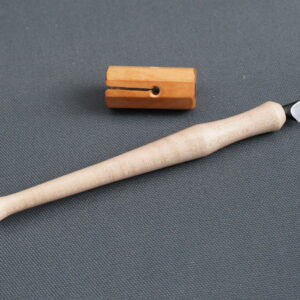
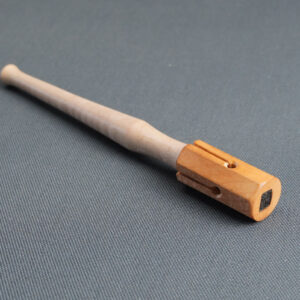
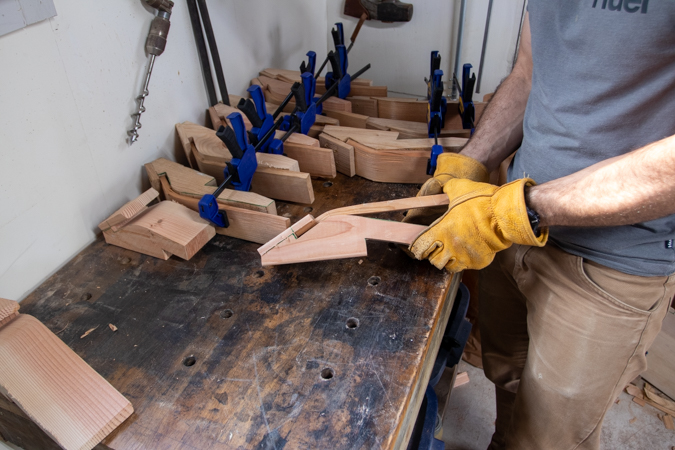
The main thing you’ll need is a form to bend the wood around to give it shape and let it cool. I’ve made my forms out of cheap pine 4x4s, with a lip to hold the front of my spatulas and parallel cutaway to make clamping easier. The bend is a little more than what the finished product will be as the wood tends to spring back a little when you take it off the form.
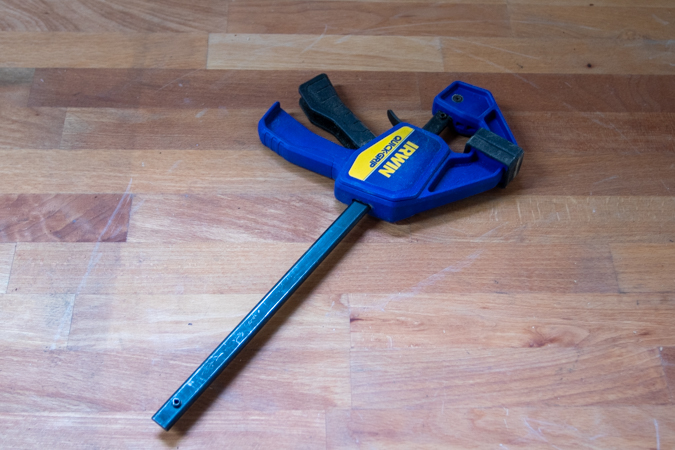
You’ll also need clamps. One for each of these forms. That said, I’ve been playing around with a form design that doesn’t need clamps, but I’m still working out the kinks.
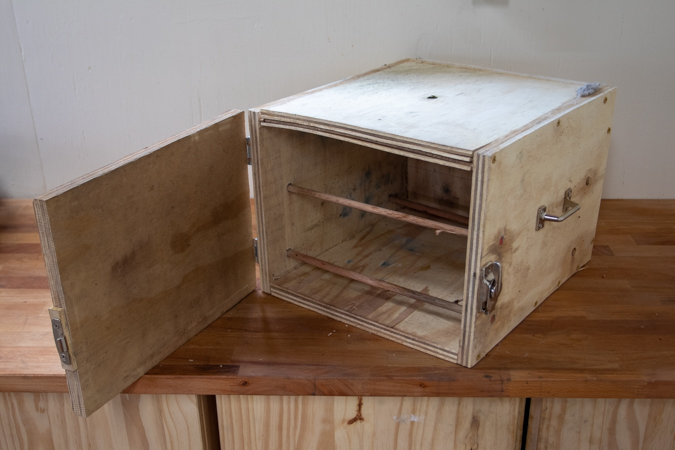
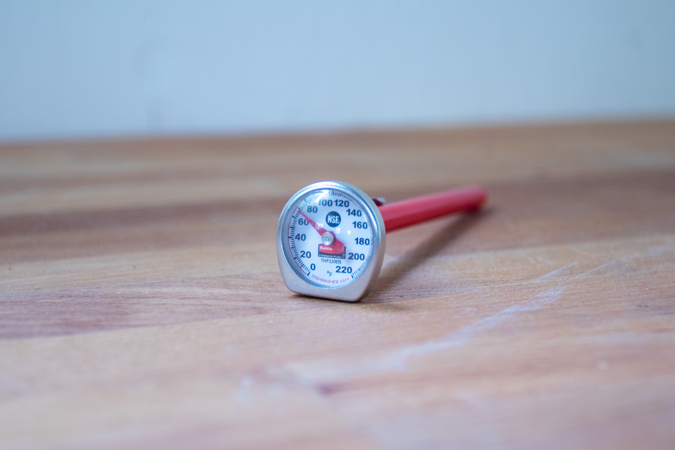
I’ve made myself a fancy steam bending box out of plywood. It’s big enough to hold my steam generator and all the bits that go in the box. If, like me, you struggle to accurately fit two or more pieces of wood together, congratulations! All your years of ineptitude will finally pay off. Having a slightly leaky steam box helps with circulation. If everything is too tight, you’ve just made a pressure cooker. Mind you, too leaky and it won’t get up to temperature. Having some sort of thermometer helps let you know what’s happening inside the box.
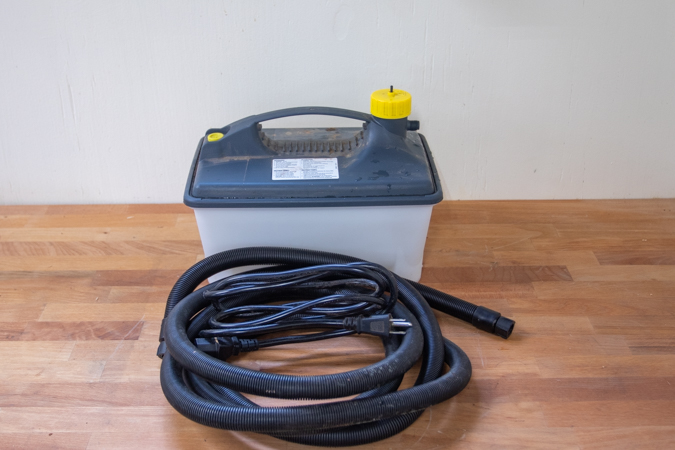
A steam generator. I got this off Highland Woodworking. It generates steam. Not much else to say. Some folks use steamers designed for wallpaper removal or steam cleaning. They all work in pretty much the same way.
You don’t need a generator and box if you just want to dip your toes into the scalding waters of steam bending. There are plenty of options to steam one or two bits of wood in the kitchen. Our rice cooker has a steaming tray, a large pot of boiling water with the wood suspended above it will work. No need to jump in with all this kit right away.
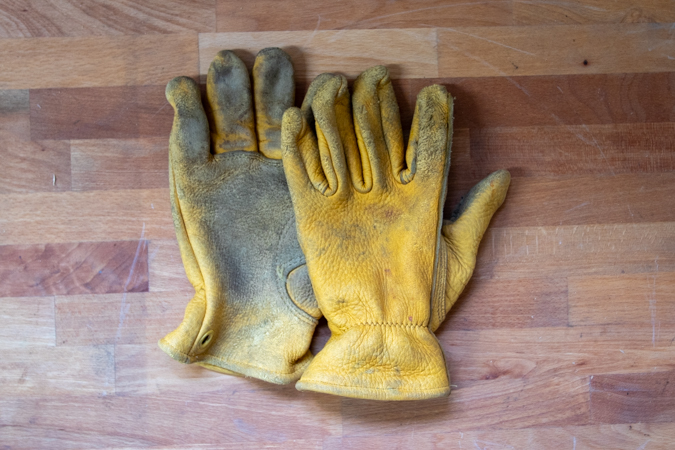
Whatever method you use, you’ll be pulling wood out of a boiling hot environment, so grab a pair of gloves. Oven mitts will probably work too.
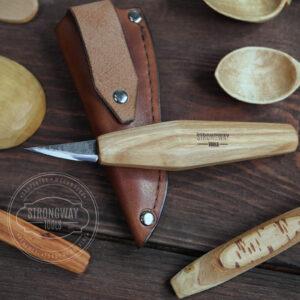
Finally, you’ll need some wood for bending. I’ve only bent cherry, which works for me. The all-knowing internet suggests mainly hardwoods. Oak, ash, hickory and elm seem to be near the top of most lists. But feel free to try what you’ve got.
My Process
This is how I do my steam bending. So far I’ve made about 50 spatulas using this process, so I’m still learning.
- Set up the steam bending station
- Fill the generator with water
- Attach to box (water tends to pool around the box)
- Get shelves ready
- Turn on generator
- Prepare the billets
- Straight grained green wood works best
- 1/2″ (12mm) even thickness
- Make a couple extra to account for failures
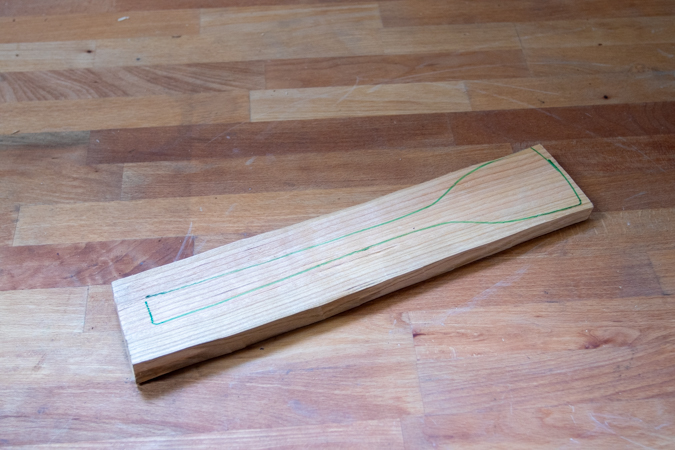
- Draw template
- Put billets in box
- Make sure the temperature is close to 100 C (212 F)
- leave air gap between billets
- 1 hour per inch of thickness = 30 minutes of steaming
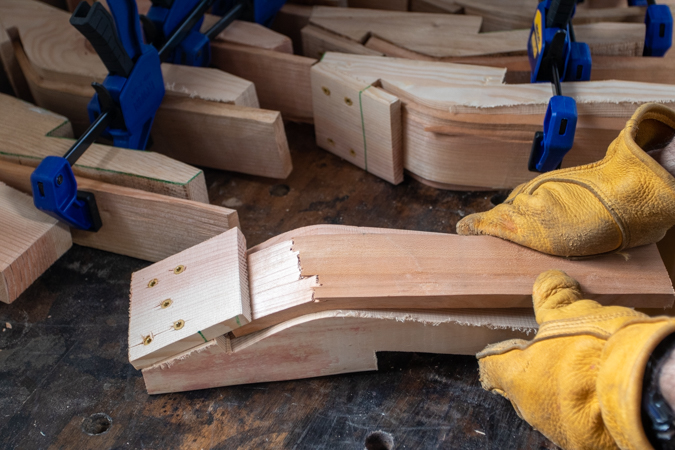
- Put billets in forms
- Set up near box and have a clear plan of how you’ll fit the wood to the form and attach the clamp. Wood cools and hardens rapidly. Literally seconds count.
- Start bending the wood bent as quick as possible. Apply even pressure to the wood, no sudden movements. Let the clamp help with the final bending.
- Let them cool overnight
- Set up near box and have a clear plan of how you’ll fit the wood to the form and attach the clamp. Wood cools and hardens rapidly. Literally seconds count.
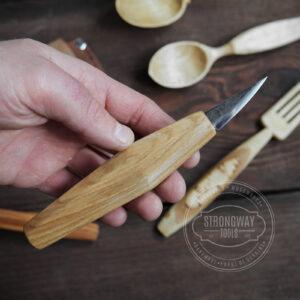
- Carve your billets!
Some troubleshooting
When you put the wood into your form and start to bend it, the fibers along the outside of the curve stretch and the fibers inside the curve compress. Sometimes the outside fibers will break. It’s fine if just a few fibers at the surface break, you can carve them away. If too many fibers break, or the billet fully snaps, it might not have been steamed for long enough. I’ll usually let the billets still in the steambox have an extra 5-10 minutes if the first one breaks.
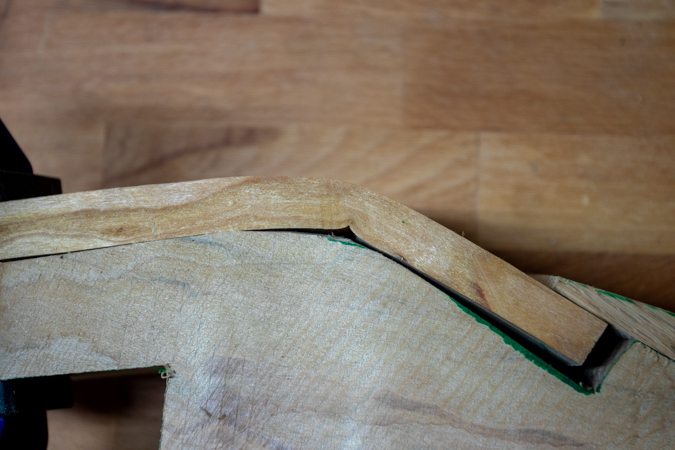
You can also have compression failures on the inside of the bend. It’ll look like the wood has folded rather than smoothly bent. It’s not really possible to spot a compression failure as it happens since the compressed fibers are hidden against the form. These failures tend to be due to either over-steaming, or using a form that’s got too tight a radius. If the fold isn’t very deep you might be able to carve under it. That said, the fibers under the fold will be weaker than in a successfully steam bent item. Kitchen utensils aren’t subject to a lot of stress, so you could save that piece. Just in mind that there’s a part of your steam bending process that needs tweaking.