
Brush making is actually not so hard as I originally thought. It surely needs some trial and error but the whole experience was relaxing, mind stimulating and extremely satisfying. So here are my tips, step by step guide and video tutorial for making a pasty brush. So let’s begin!
What you will need
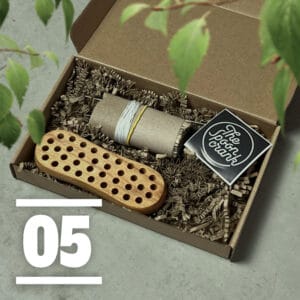
All brush making kits contain:
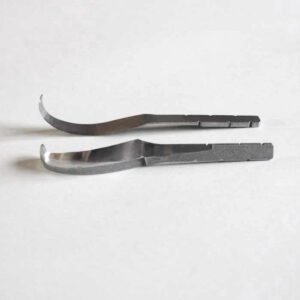
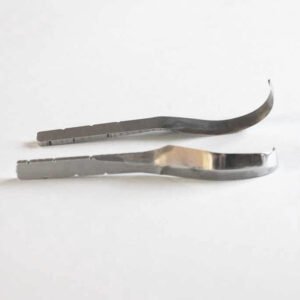
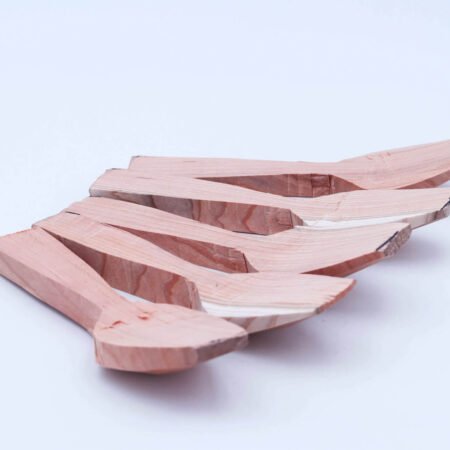
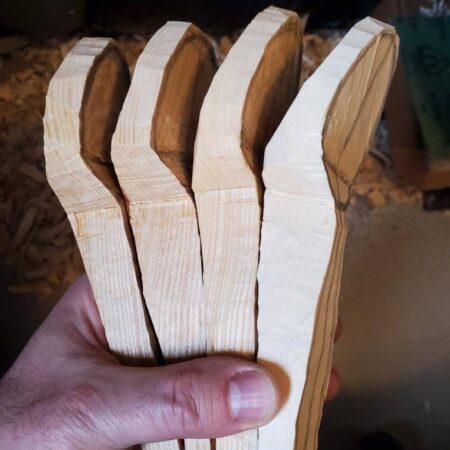
- Wood blank
- Horsehair – beige
- Crochet hook
- Thread
You will also need:
- A pair of scissors
- A small cup to gather the fibres
- A Piece of wood or another sturdy item to pull the thread
Preparation
I personally like to organise my materials before starting. In this case I separated the fibres in as many stacks as the holes in the wooden brush blank.
How much fibre is enough? Try different fibre quantities to figure out how much fibre fits in the hole of the wooden brush blank.

Tip! – Use a piece of wood or a pencil to wrap around the thread while pulling the fibres inside the holes, otherwise you might end up with a throbbing hand. I sure did, even though Dio had warned me before hand. Well, lesson learned!
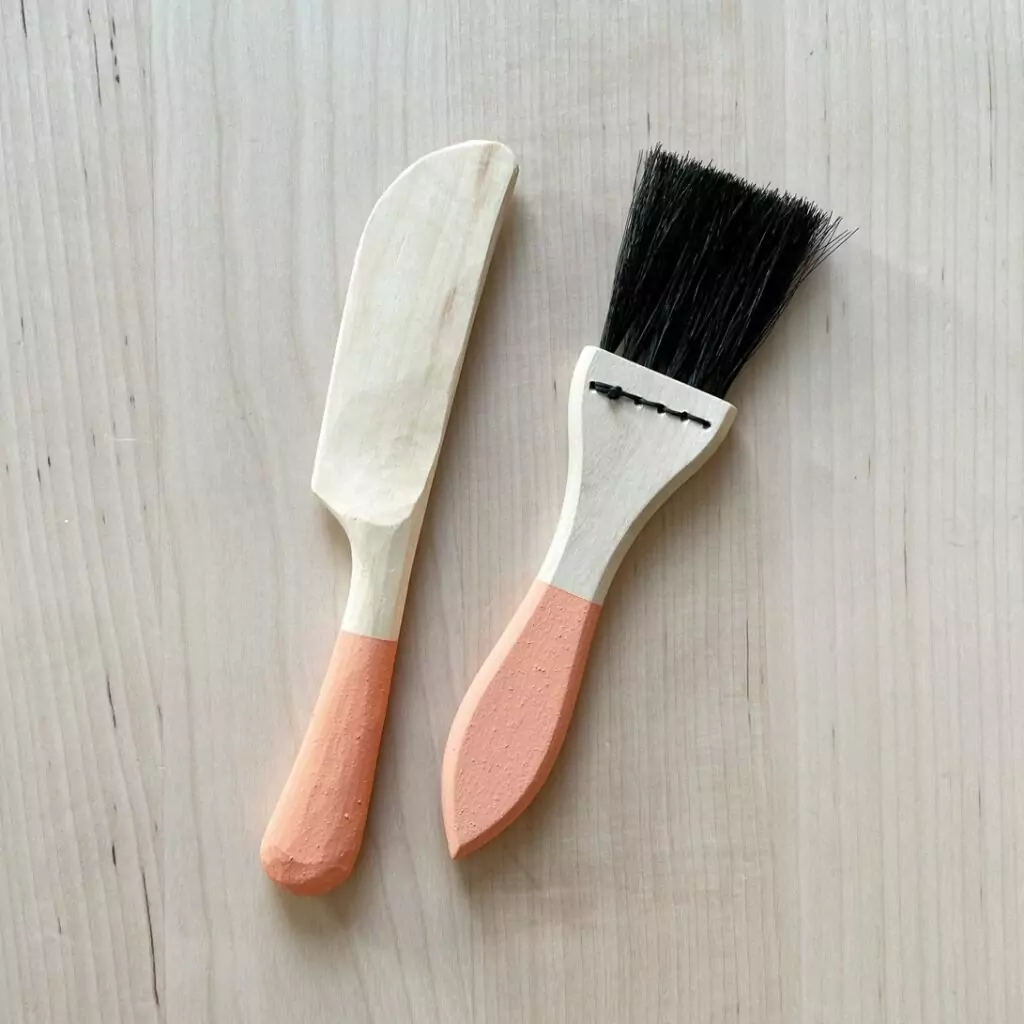
The Milk Paint colour on the finished items above is the Casa Rosa, you can see all 28 Milk Paint colours here.
Making the Brush
- We take the thread, create a loop and press the loop to create a pointy end. We only need a little thread on one side.
- Put the pointy end of the loop on the first side hole of the pastry brush.
- With the help of the needle, “catch” the loop from the other end of the hole and pull the thread out.
- Take a stack of Tampico fibre and put it in the glass. Try to make the fibres have the same length.
- Pass the stack through the loop of the thread.
- Try to put the thread in the centre of the stack. You can fold the stack in the middle so you can find the centre easier.
- Take out the short side of the thread and make two knots. Try to make them as tight as possible.
- Cut the excess thread of the short side but try to leave some excess so the knots wouldn’t unfold. I measure it with the distance between the openings of the hole.
- Take the long side of the thread and pull tight with the help of a piece of wood or something else, while at the same time keeping the fibres folded with your other hand.
- Now start filling the next hole. Make a loop and press it to create a pointy end.
- Put the pointy end of the loop on the side hole of the handle.
- With the help of the needle, “catch” the loop from the other end of the hole and pull the thread out.
- Take a stack of Tampico fibre and put it in the glass. Try to make the fibres have the same length.
- Pass the stack through the loop of the thread.
- Try to put the thread in the centre of the stack. You can fold the stack in the middle so you can find the centre easier.
- Keep the fibres folded and the handle with the one hand and pull tight the thread with the piece of wood.
- Repeat the steps 10 to 16 until you have filled all the holes except the last one.
- In the last hole when you are in the step you pull the thread, place the needle parallel to the handle between the 2 last holes.
- Pull the thread tight with the help of the piece of wood.
- Loop the excess thread to the needle and pull it downwards until free.
- Make a knot, cut the thread and secure the excess.
- Decorate your brush with some Milk Paint or just some bees wax for a shiny finish.
- Admire your work and Done!
Watch the video tutorial
Brush Making kits
 Union Mix Scrub Brush – DIY Kit$35.00 VAT included (where applicable)
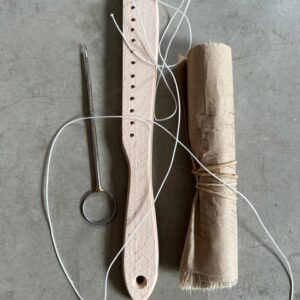 Horsehair Table Brush – DIY Kit$35.00 VAT included (where applicable)
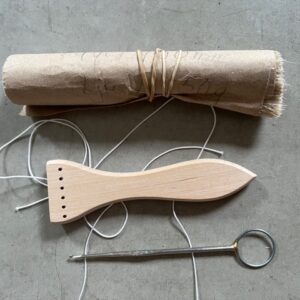 Pastry Brush Making Kit – DIY Kit$35.00 VAT included (where applicable)


One Response
Made my 1st brush…..it was so much fun & want to make more!