Burning the surface of the wood is said to be effective at preventing rot and worm holes due to the oxidation process. In addition, the coloring makes the dirt from your hands less noticeable, and accentuates the grain of the wood. It is also a big advantage that there is no need for chemicals like paint.
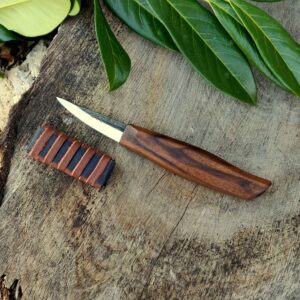
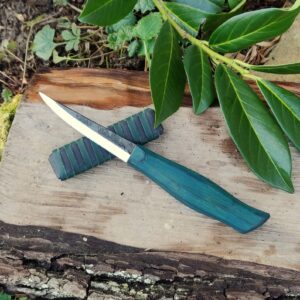
Here you see the how to create a BURNT WOOD FINISH on the Japanese knife It’s my knife folding by Fedeca, which achieves a deep and beautiful color.
A great thing about BURNT WOOD FINISH is that you can adjust the degree of shading while burning.

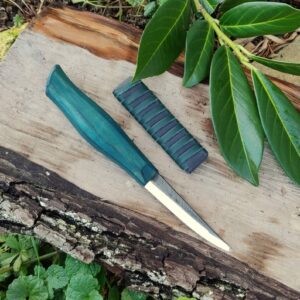
Place the two handle pieces a distance apart.

Use a gas torch. Keep a close eye on the wood while burning.

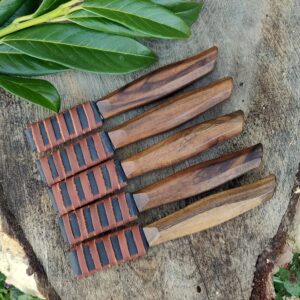
In order to add shading, burn the periphery black and keep the center finished in a lighter colour.
Because the handle material is thin, it burns easily, especially the thin sides and corners. So be especially careful so that they don’t burn too much and fall off. Concentrated scorching will cause the wood to shrink and crack due to rapid temperature changes. Burn thinly and carefully from a distance.

After burning, remove the soot with sandpaper and adjust the color to create a beautiful gradation from the periphery to the center.

Done! If you apply oil to finish it, the gradation will be emphasized and the color will be more beautiful.
This article is courtesy of Fedeca Knives, Japan.
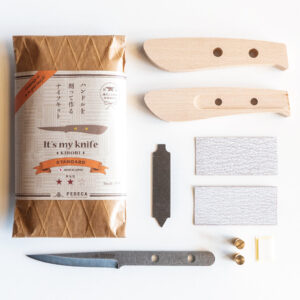
 It’s my knife Kibori – Standard – Knife making kit$49.95 VAT included (where applicable)
- Product on sale
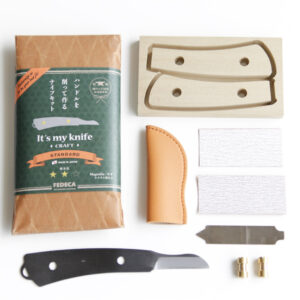 It’s my knife Craft – Standard – Knife making kit$32.00 VAT included (where applicable)
 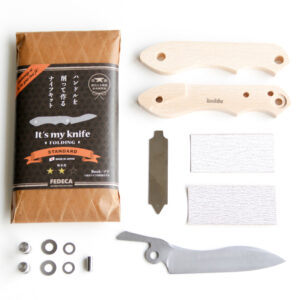 It’s my knife Folding – Standard – Knife making kit$49.99 VAT included (where applicable)